If you’re planning a bespoke luxury kitchen, you’re probably asking the same question everyone asks at the start:
“How long is this going to take, really?”
Not the optimistic version. The real one. The one that accounts for the fact that decisions take time, trades need booking, materials have lead times, and life continues while your home is being turned upside down.
A good rule of thumb is this:
Most luxury kitchens take 12 to 20 weeks from “design agreed” to “fully installed”, and longer if you’re doing building work, structural changes, or anything bespoke.
But the full journey from first meeting to final fit is usually more like 4 to 8 months, sometimes longer, depending on complexity and how quickly decisions get made.
This article breaks the process into clear stages so you know what to expect, what can slow it down, and how to keep it moving without compromising the finish.
If you’re still at the early stage of exploring luxury kitchen designs, read this with a notebook in hand. You’ll spot the moments that matter.
The honest answer: what “timeline” are we talking about?
People say “kitchen timeline” but they mean different things.
There are usually three timelines happening at once:
1) Design timeline (brief, layout, iterations, sign-off)
2) Production timeline (ordering, manufacturing, finishes, appliances arriving)
3) Installation timeline (removals, first fix, fit, worktops, second fix, snagging)
You can move quickly through one stage and still be delayed in another. That’s why someone can “sign off the design” and still be waiting for a particular finish, hinge system, or appliance.
Typical luxury kitchen timeline at a glance
Here’s what a realistic project often looks like.
Weeks 1–4: Briefing and concept design
Weeks 3–8: Design development and selections
Weeks 6–12: Design sign-off, technical drawings, ordering
Weeks 10–18: Manufacturing and delivery window (varies massively)
Weeks 1–6 of install: Removal, build work, first fix, fit, worktops, second fix, snagging
That overlap is normal. A well-run project does not wait for “one stage to end” before the next begins.
Stage 1: Brief and concept design (Week 1 to Week 4)
This is where your kitchen starts becoming real, but it can also be where time quietly leaks away.
What happens here:
– You share how you live, cook, entertain, and use the space.
– Measurements are confirmed, especially if walls are moving or rooms are being opened up.
– The first layout options are created: zones, circulation, key sight lines, storage priorities.
If you want this stage to move faster, turn up with clarity on a few basics:
– Who cooks, and how often?
– Do you host regularly, or is it mainly family use?
– What do you hate about your current kitchen?
– What must stay, and what must go?
If you’re not sure what you should have thought about yet, Krieder has solid planning pieces that pair well with this stage, like Essential kitchen design planning tips and Designing the ultimate open-plan kitchen.
The biggest delay risk in Stage 1 is “designing without a clear brief”. That usually leads to endless revisions later, and the timeline suffers.
Stage 2: Design development and selections (Week 3 to Week 8)
This is where people underestimate the workload.
A luxury kitchen is not just “choose a door, choose a worktop”. It’s an entire set of decisions that have to work together under real lighting, real usage, and real cleaning habits.
What happens here:
– The layout is refined, sometimes through several iterations.
– Appliance specifications are selected, including venting and services.
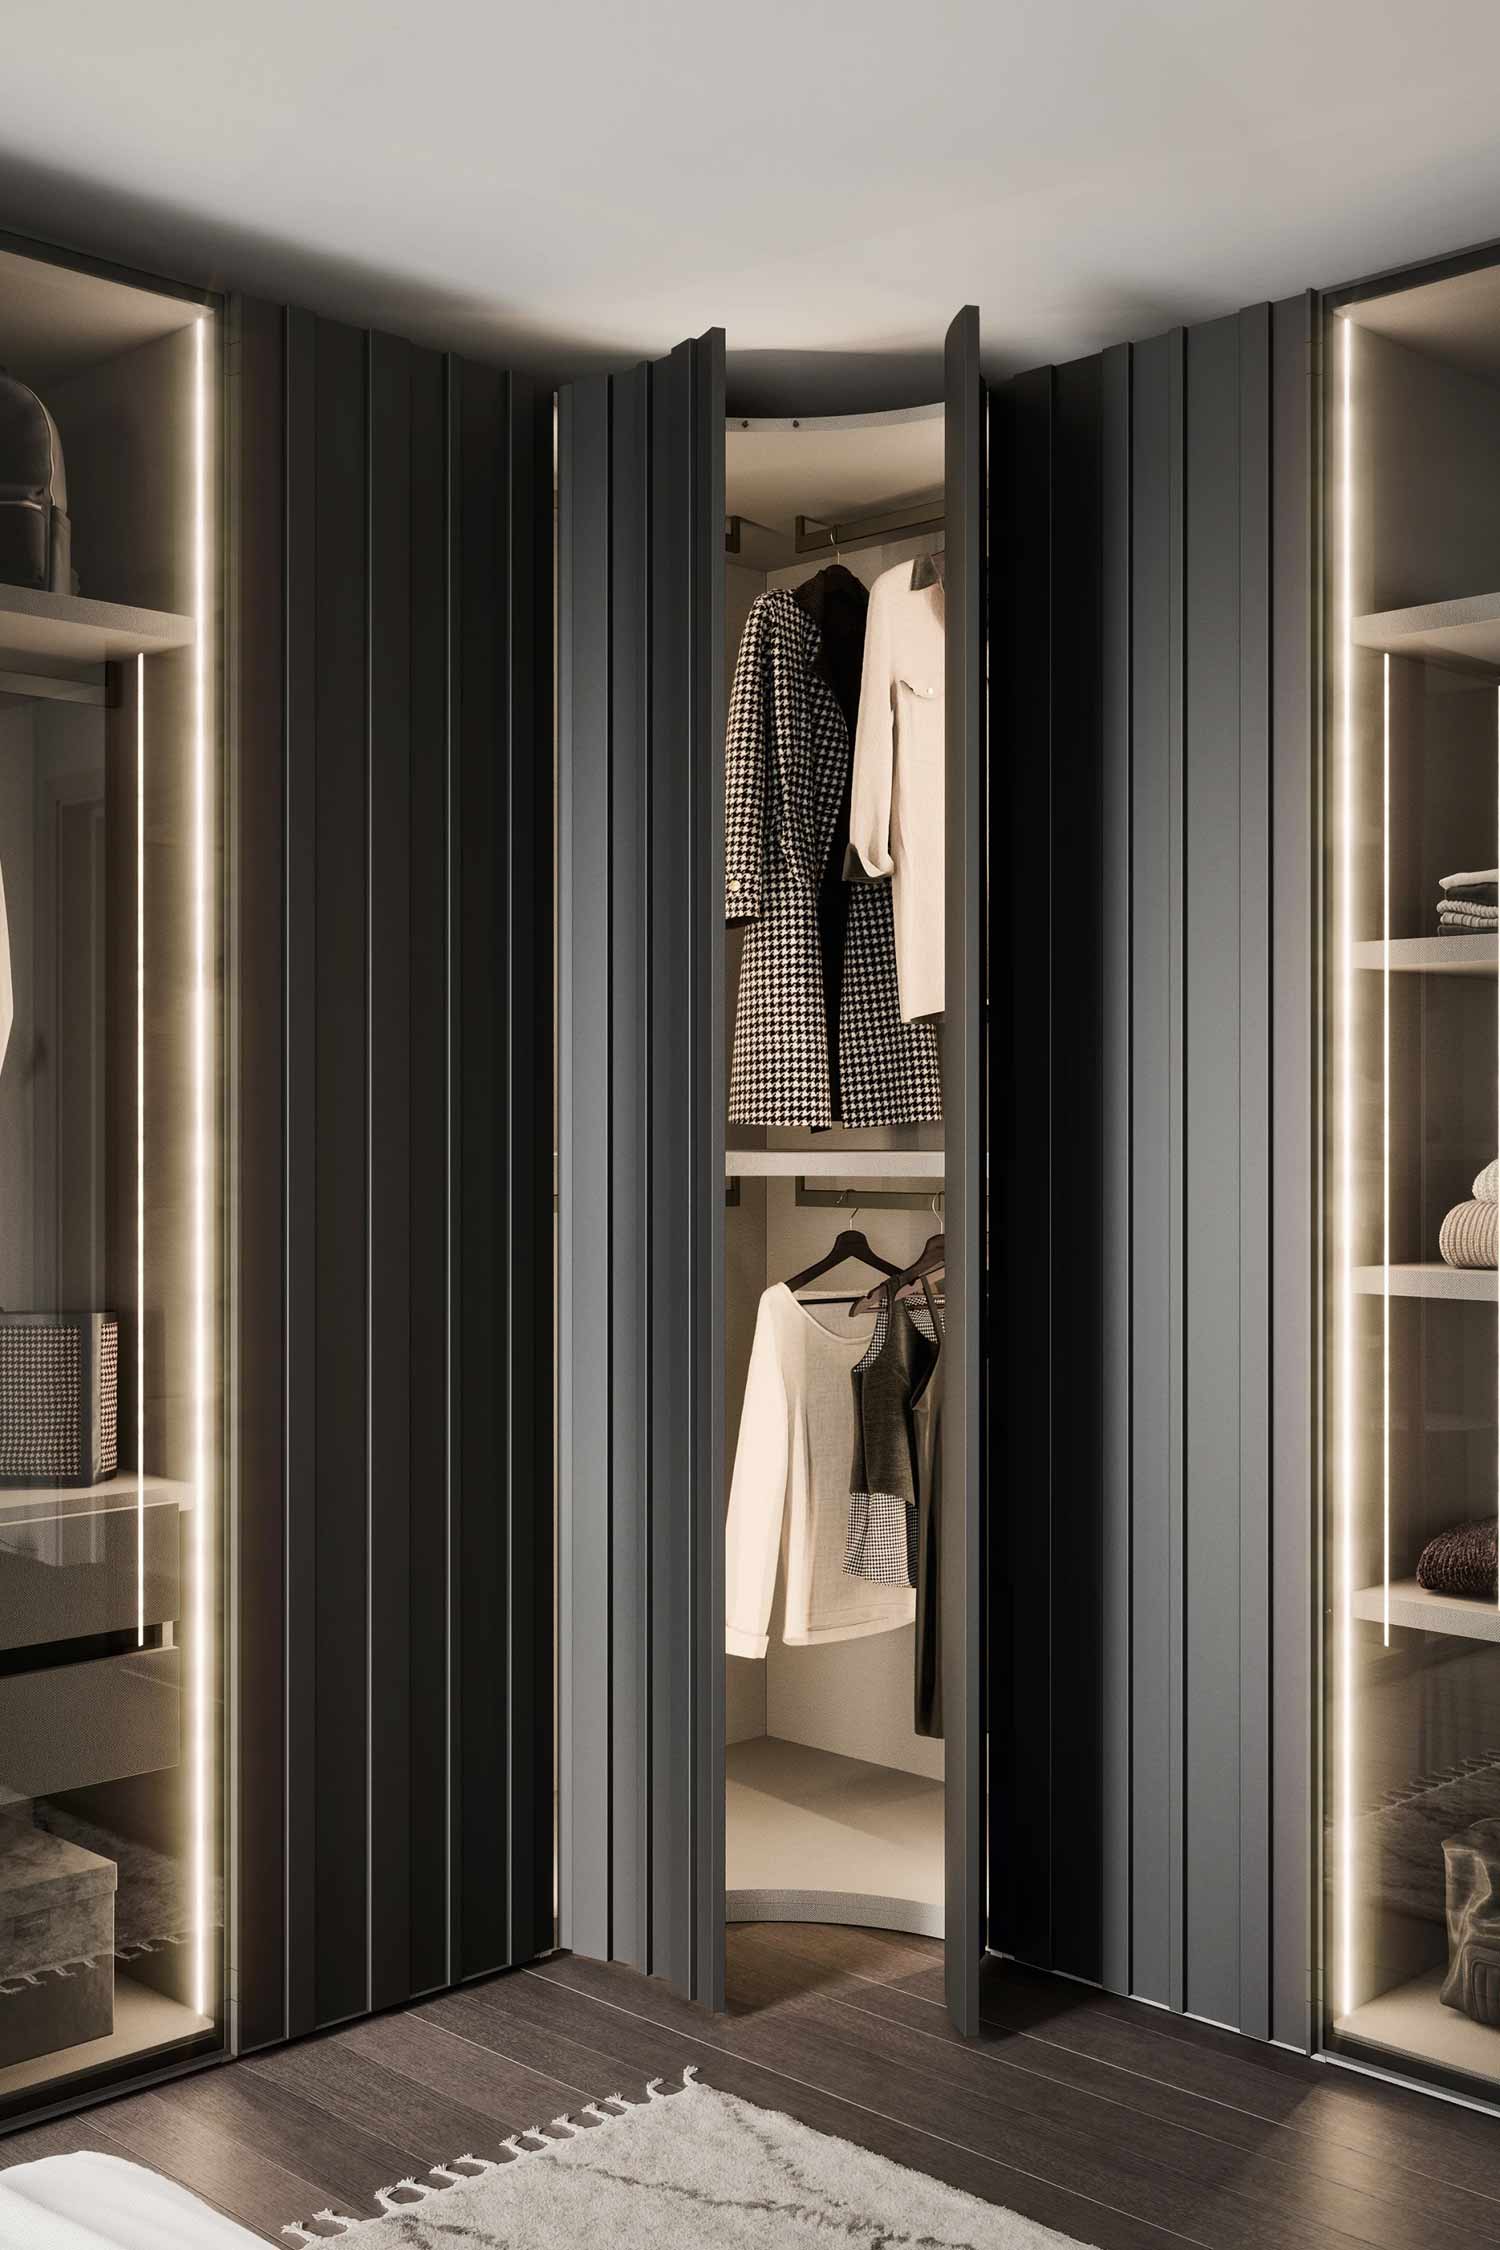
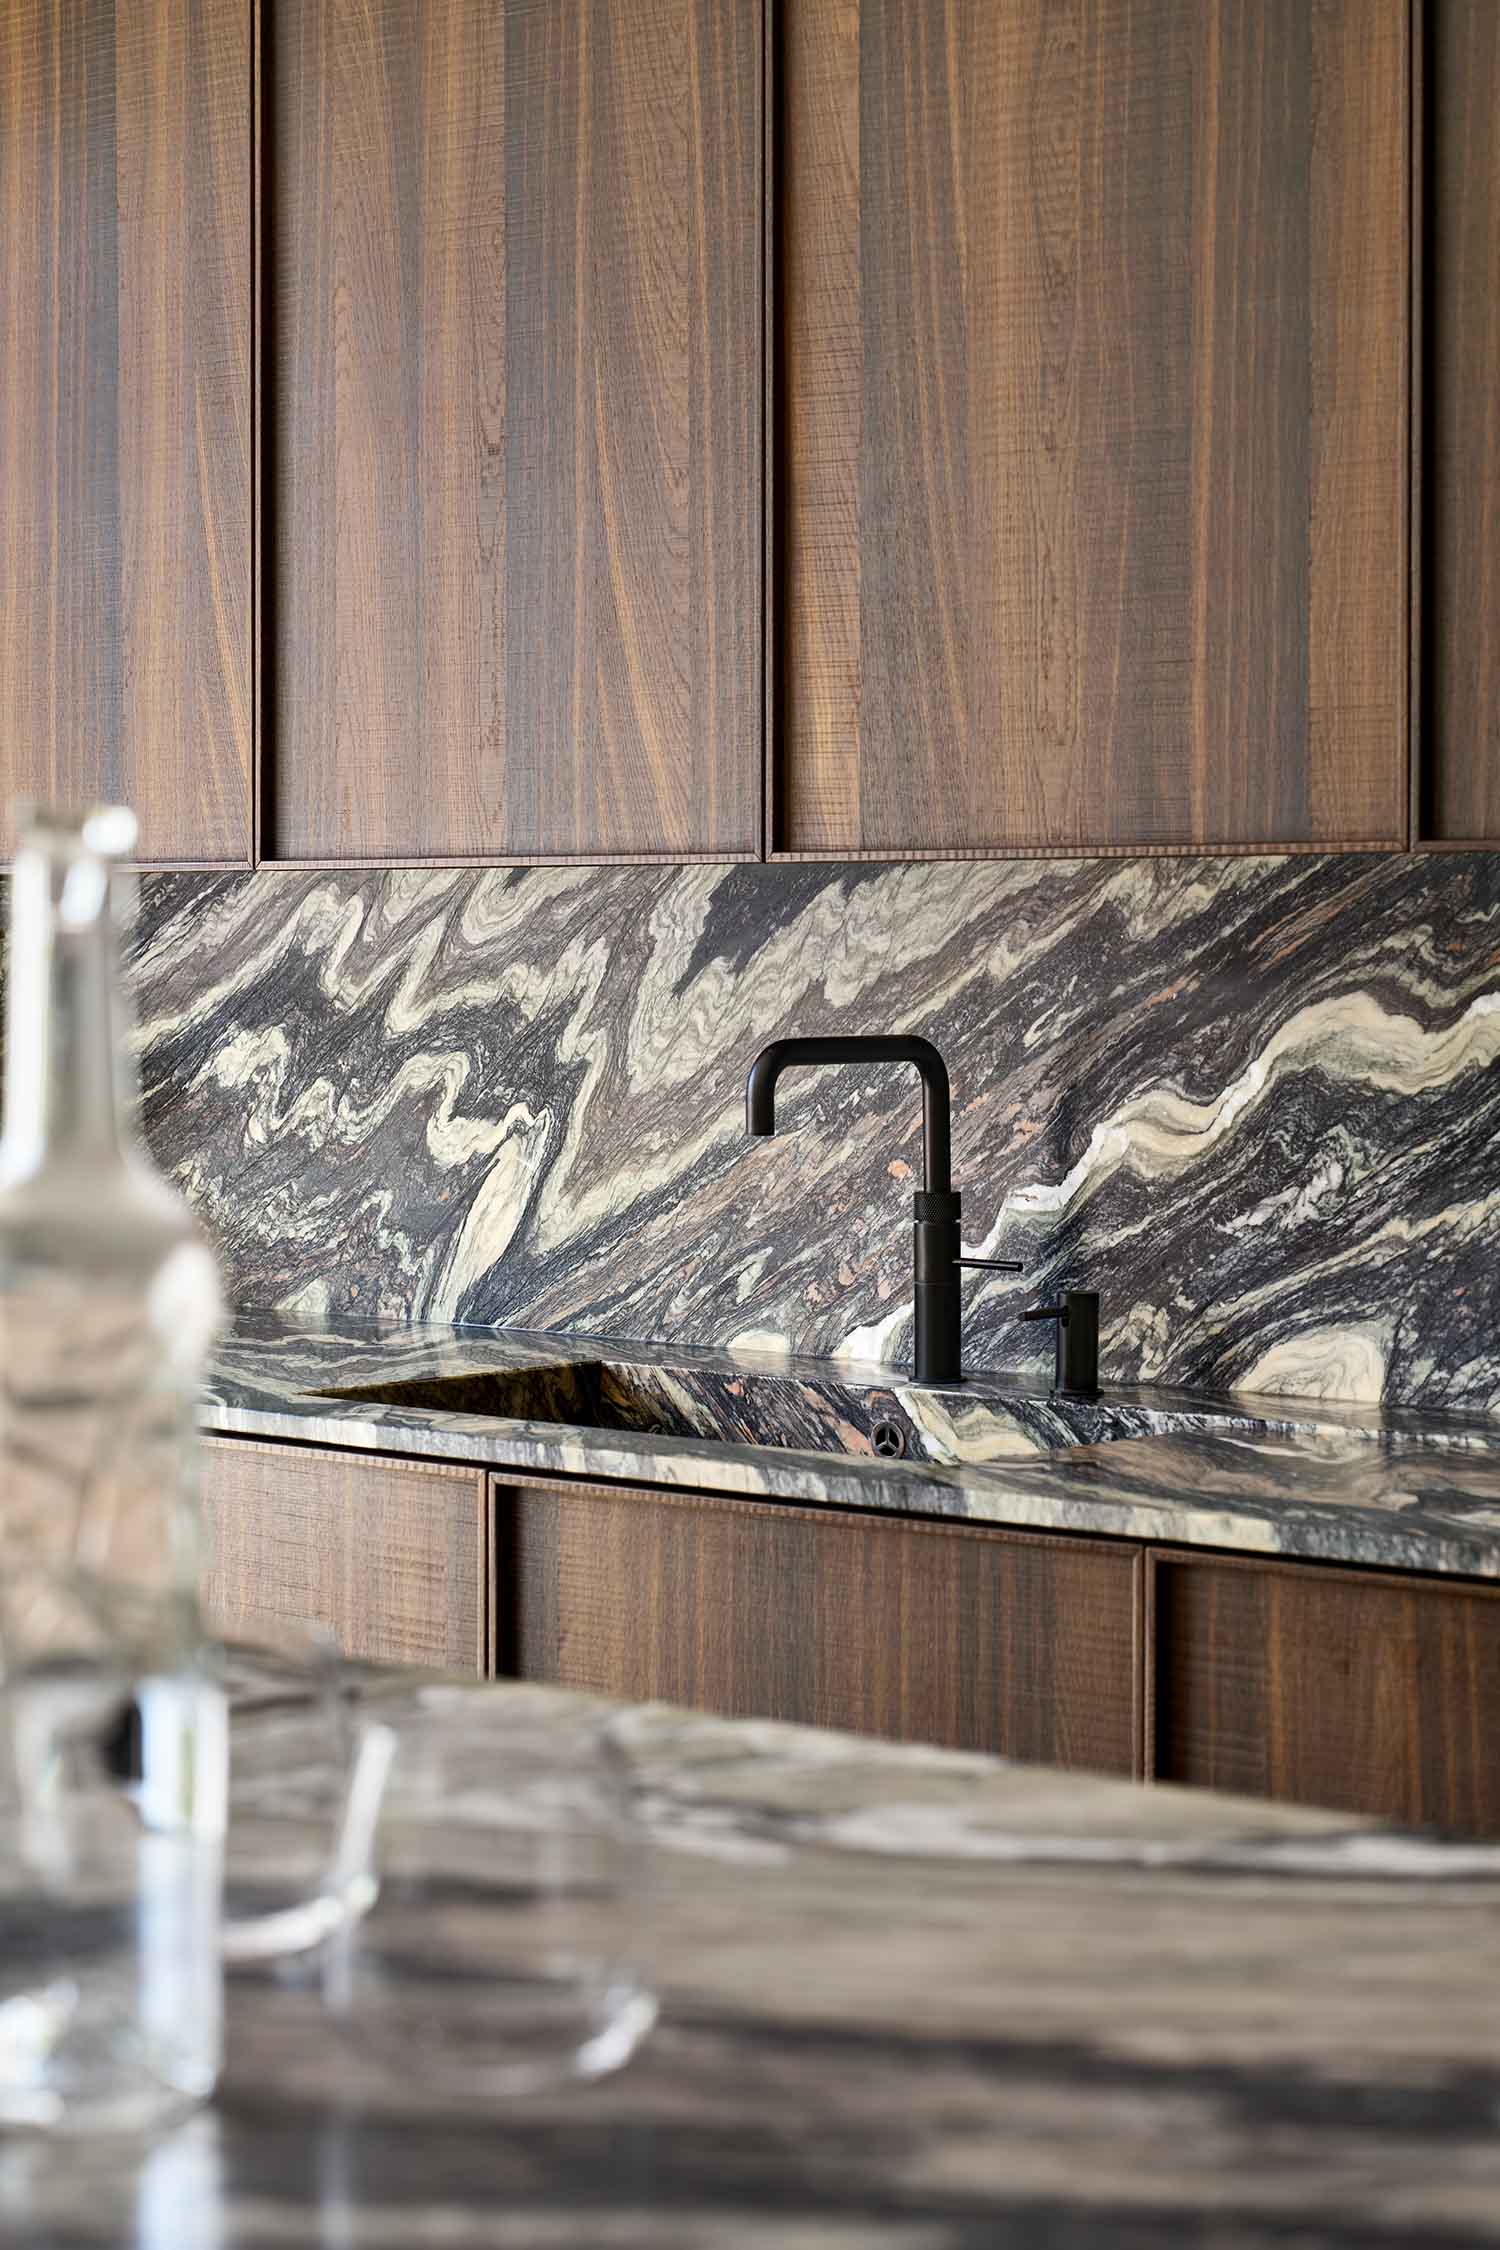
– Materials are chosen: doors, worktops, splashbacks, handles or handleless profiles, internal finishes.
– Lighting concept starts forming (especially if you’re integrating LED into cabinetry).
– Practical details get locked in: socket placements, pantry layouts, waste systems.
This is also where your timeline can speed up or slow down depending on your decision-making style.
If you prefer to make confident decisions quickly, you can keep moving.
If you like to explore every option (which is understandable when you’re investing a lot), build that into your schedule. Don’t rush it and regret it later.
For a clear overview of materials and what they do in a kitchen, The ultimate kitchen materials guide: from marble to Fenix is the kind of reference that helps clients decide faster because it explains the trade-offs properly.
The question everyone asks at this point
“Is it too early to pick appliances?”
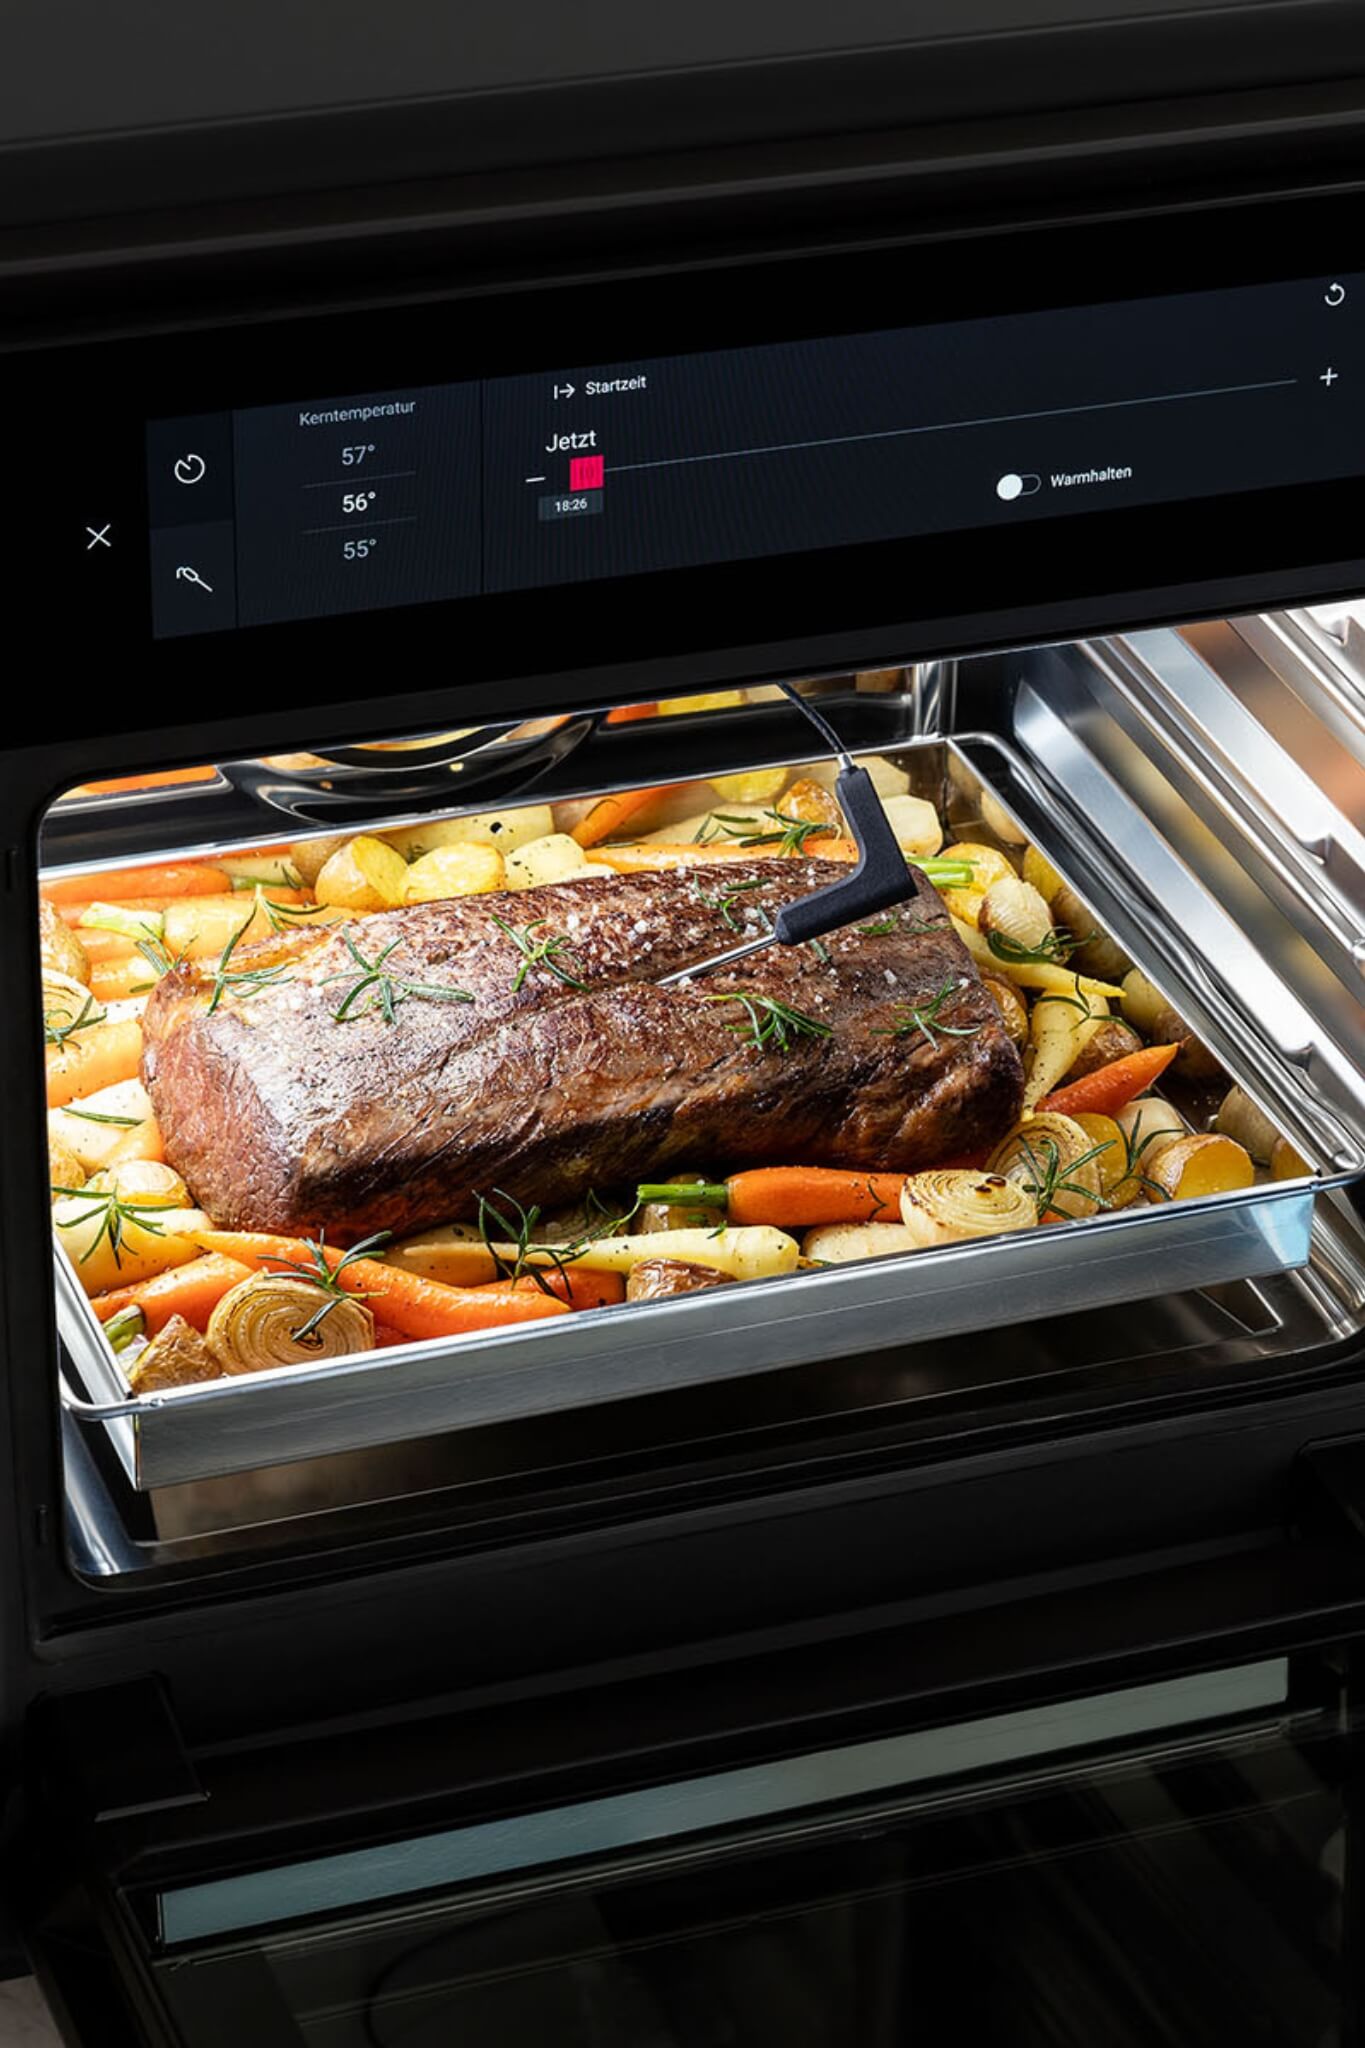
No. In a luxury kitchen, appliances drive cabinetry, ventilation routes, electrics, and sometimes the layout itself.
Even if you don’t choose the exact model immediately, you need to know categories and sizes early: ovens, cooling, extraction, induction, steaming, wine storage, and any specialist kit.
If you want an organised way through that, Choosing your kitchen appliances is the right sort of read before you fall into a rabbit hole of specs.
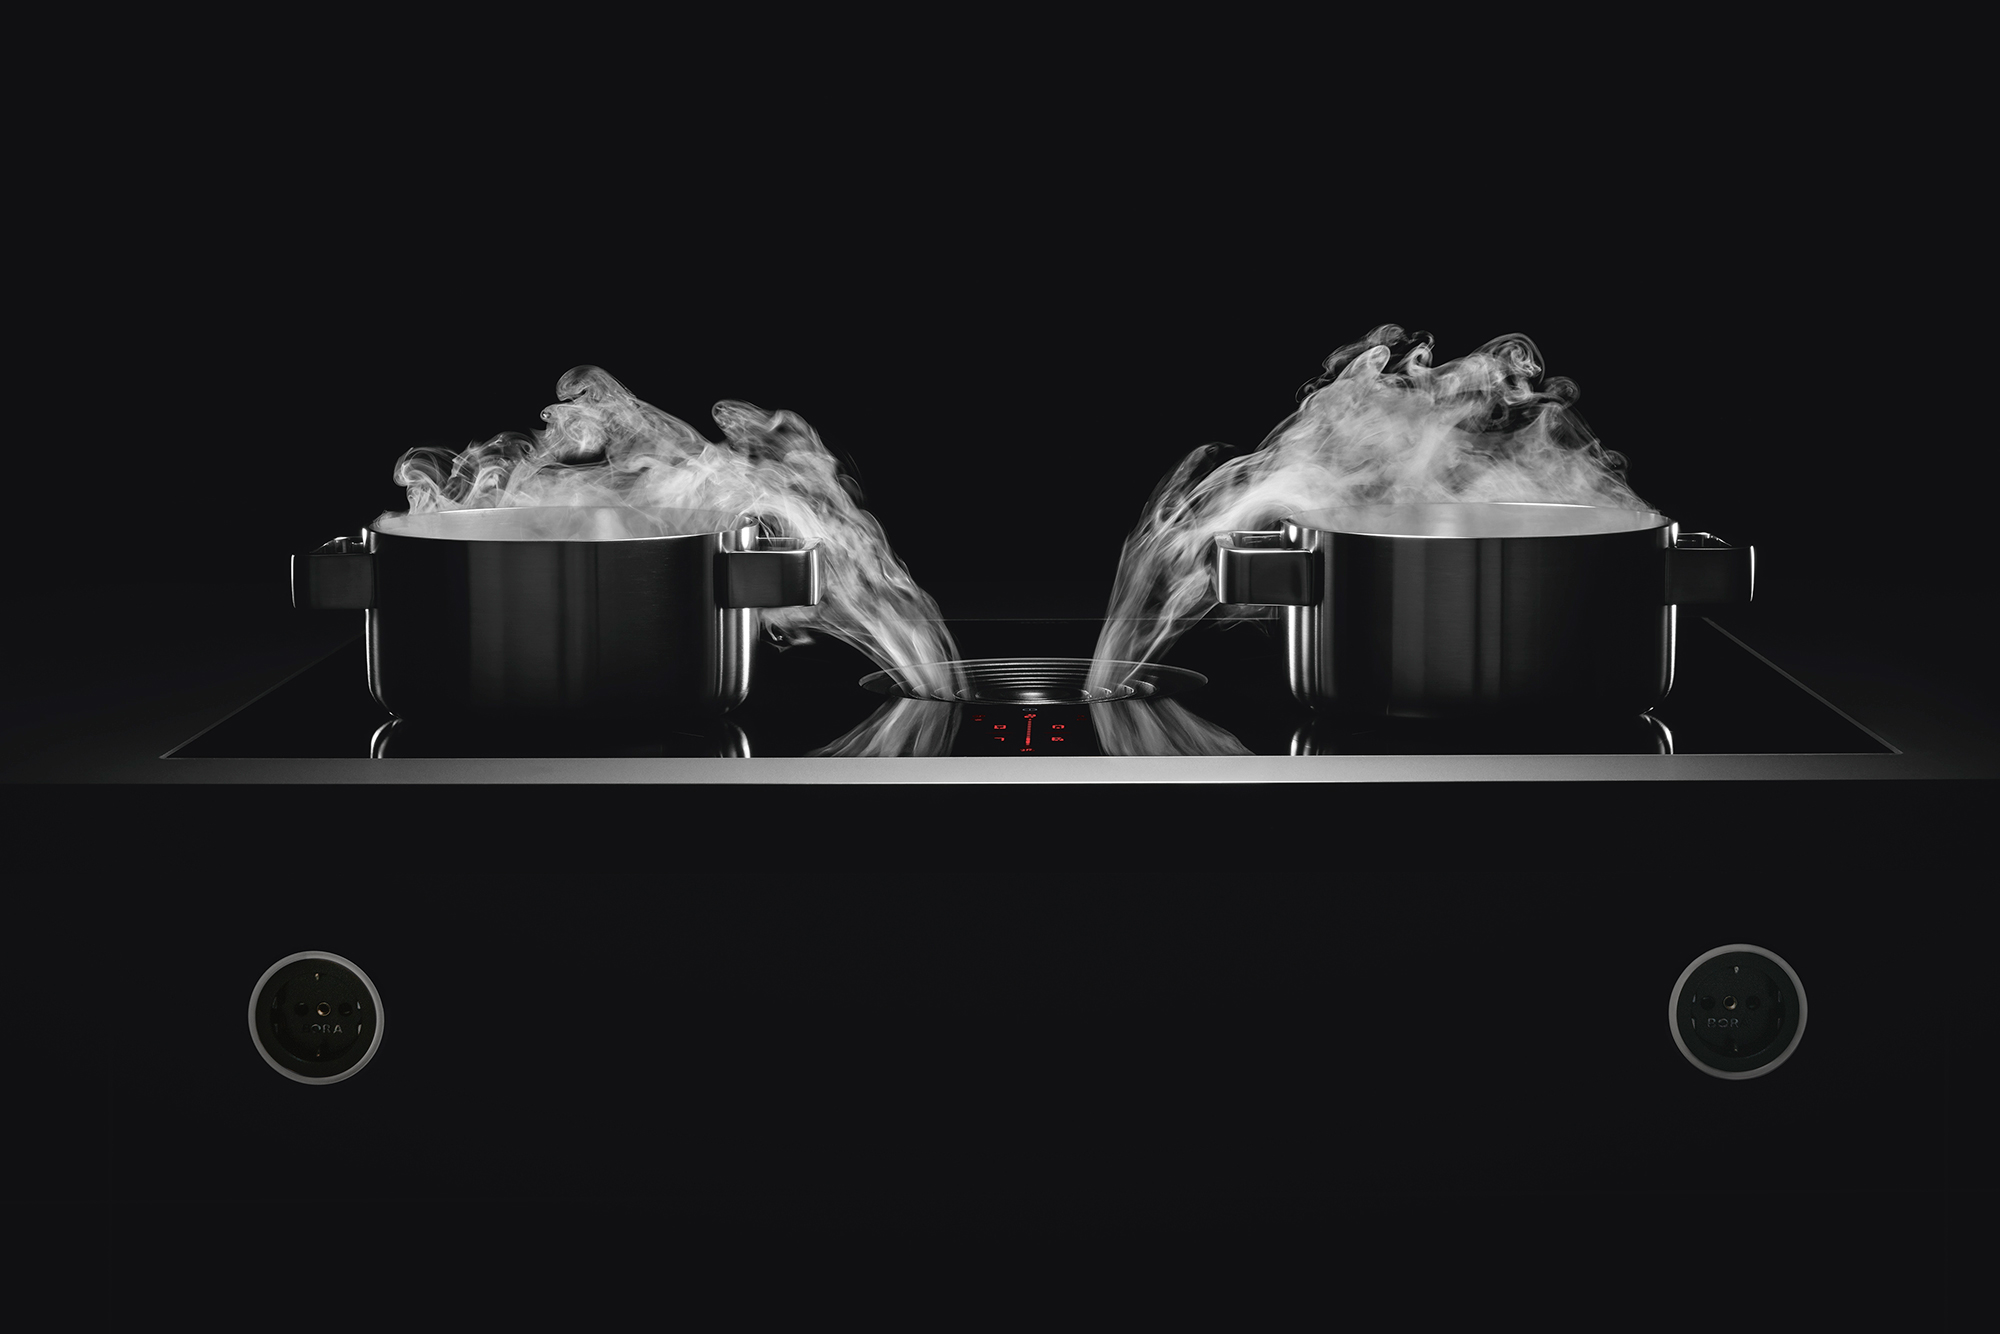
If you’re choosing brands like Gaggenau or Bora, you’re in premium territory, which is great, but you still want your supplier to confirm availability before you lock the kitchen.
Stage 3: Design sign-off and technical planning (Week 6 to Week 12)
Once you sign off, you’re moving from “design” into “commitment”.
This stage is where your project becomes buildable.
What happens here:
– Final drawings, technical plans, and service locations are confirmed.
– If you’re doing building work, the builder and kitchen team align on sequencing.
– The order is placed for cabinetry, worktops, and appliances.
– Lead times and delivery windows are confirmed.
– Installation dates are provisionally booked.
The classic timeline killer at this stage is changes after sign-off.
Sometimes changes are unavoidable. But every late change risks:
– Re-ordering materials
– Resetting manufacturing lead times
– Reworking electrics and plumbing
– Delaying your install slot
If you’re prone to last-minute changes, the way to stay safe is simple: decide what is non-negotiable early, then allow yourself a small “flex zone” later for details like stools, lighting fixtures, and styling.
Stage 4: Production and lead times (Week 10 to Week 18, and sometimes longer)
This is the part clients find most frustrating, because it can feel like nothing is happening.
But behind the scenes, this is where quality is made.
What happens here:
– Cabinetry is manufactured.
– Worktops are templated and scheduled.
– Appliances arrive and are checked.
– Components are packed, labelled, and prepared for delivery.
Lead times vary based on:
– The level of bespoke work
– The material choices (some finishes are slower to source)
– Appliance availability
– Any custom metalwork, glazing, or specialist internals
Appliance lead times alone can shape the whole project.
Ask for a single written schedule that shows:
– Order date
– Manufacturing lead time
– Delivery week
– Installation week
– Worktop template date
– Worktop fit date
– Snagging window
It’s not about being difficult. It’s about keeping everyone aligned so your kitchen does not drift.
Stage 5: Installation (usually 2 to 6 weeks depending on scope)
Installation is where time becomes visible. It’s also where good planning pays off.
A straightforward kitchen replacement in an existing footprint can be quicker.
A luxury kitchen with structural changes, plastering, new electrics, underfloor heating, or open-plan work will take longer.
A typical installation sequence looks like this:
1) Strip-out and prep (2 to 5 days)
Old kitchen removed, space made ready, walls and floors assessed.
2) First fix services (a few days to 2 weeks)
Electrics, plumbing, ventilation, gas if needed.
3) Cabinet installation (1 to 2 weeks)
Units installed, levels set, appliances positioned.
4) Worktop templating and fitting (1 to 3 weeks, including wait time)
Worktops are usually templated once base units are installed.
Stone and sintered worktops are then fabricated and fitted.
5) Second fix and finishing (several days to 2 weeks)
Appliances connected, taps and sinks fitted, lighting finished, final adjustments.
6) Snagging and handover (a few days)
The last 5% that makes the kitchen feel perfect.

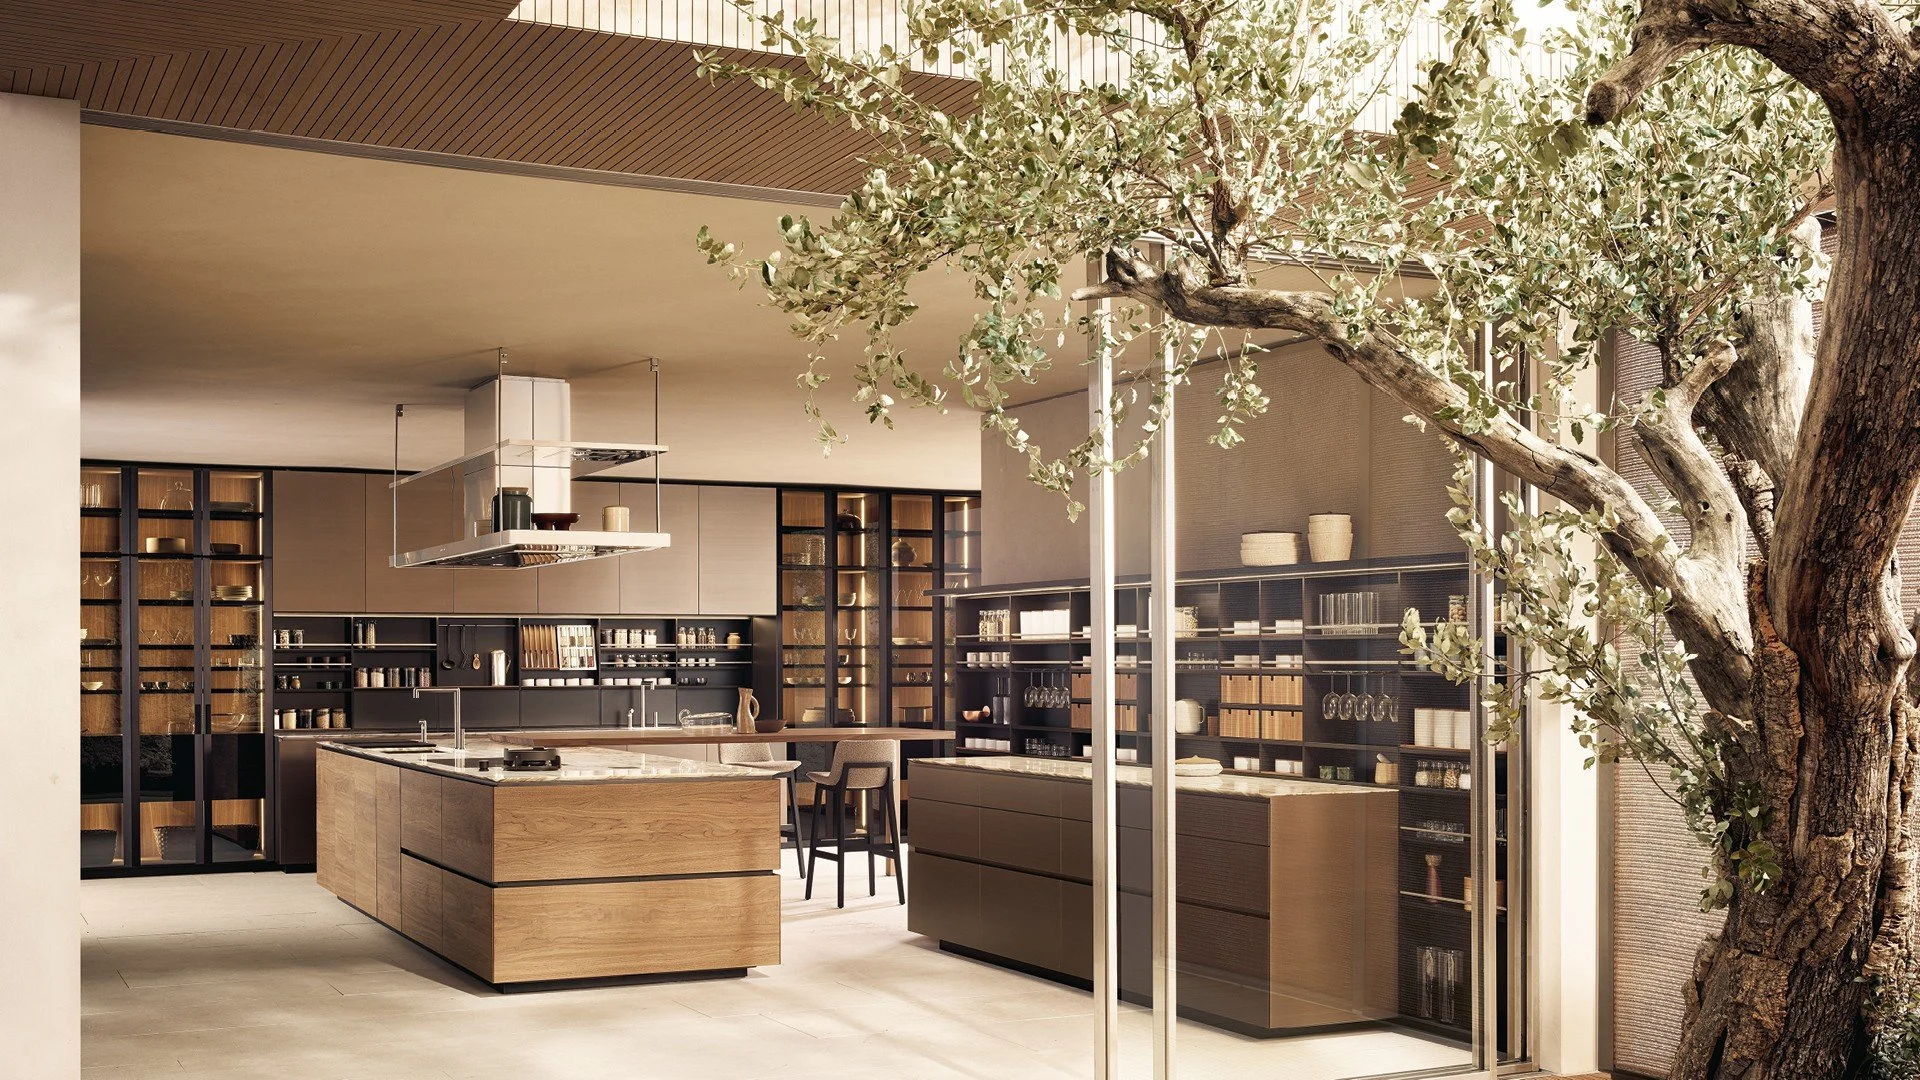
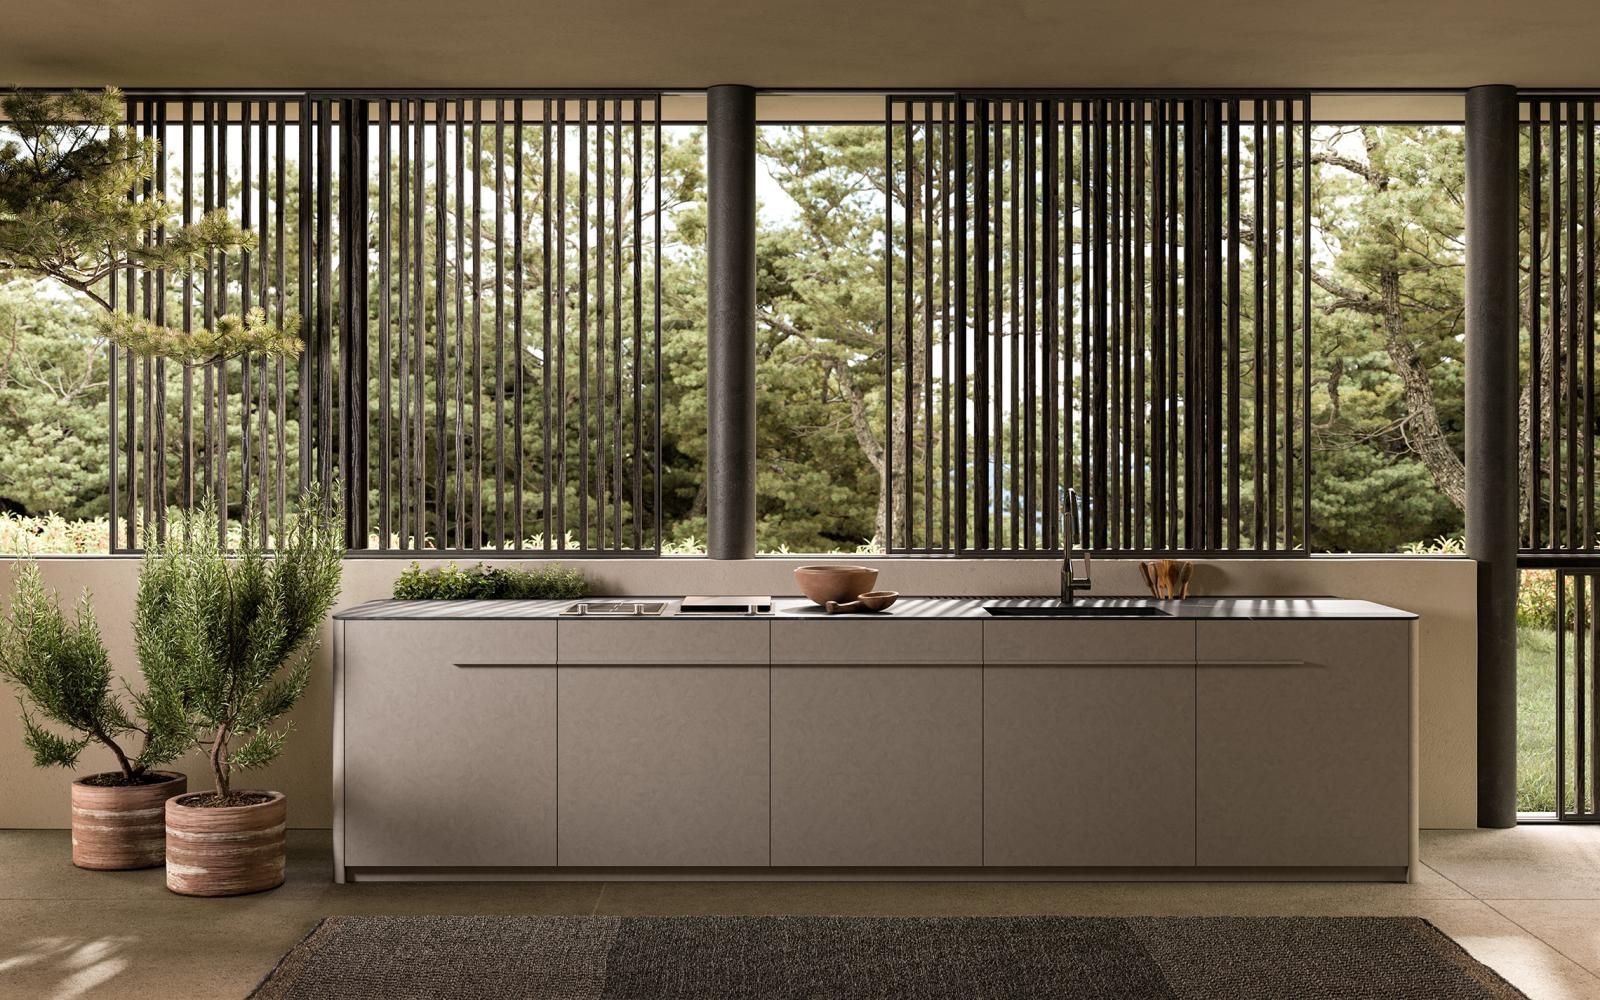
If you’re in an open-plan layout, the small technical decisions matter even more because the kitchen is always on display.
That’s why details like sockets can’t be treated as an afterthought. Concealed options, pop-ups, and integrated solutions need planning early. Streamline your kitchen with concealed sockets is a useful reference if you want your space to look calm rather than cluttered.
What makes a luxury kitchen take longer?
If you want to predict timeline risk, look for these factors:
1) Structural work
Removing walls, changing door openings, adding steelwork, relocating services.
2) Bespoke cabinetry and specialist finishes
Custom sizes, custom metalwork, unusual veneers, specialist lacquers.
3) Complex worktops
Mitred edges, waterfall panels, integrated sinks, book-matched stone.
4) Appliance-heavy specifications
Multiple ovens, steam, warming drawers, integrated refrigeration, downdraft extraction, wine storage.
5) Handleless detailing
Handleless looks clean, but it is technically more precise. Alignment and tolerances are tighter.
If you’re drawn to modern handleless kitchens, it’s worth understanding why they’ve become so popular and what that style demands. The rise of handleless kitchens: why they’re dominating modern design covers that shift well.
6) Indecision (the silent delay)
Not judgement. Just reality. Every delayed decision has a knock-on effect.
What speeds a luxury kitchen up, without cutting corners?
A fast luxury kitchen project is not about rushing. It’s about removing friction.
Here’s what helps most:
– A clear brief from day one
– Early appliance direction
– Material choices confirmed early
– One person making final decisions (or one person with veto power)
– A schedule agreed by the kitchen team and builder
– No changes after sign-off unless genuinely necessary
If you want your kitchen to feel intentional, not chaotic, the best time investment is early planning. It saves weeks later.
Popular questions people ask during a kitchen project
“When should I book my builder?”
As soon as you’re confident the project is happening.
Good trades are booked out. If you wait until you’ve chosen every handle, you may lose your preferred install window.
“Do worktops always delay projects?”
Not always, but they can.
Stone and sintered worktops need templating after cabinets are installed. That means a natural pause in the middle of installation.
“Can I live in the house while the kitchen is being installed?”
Often, yes, but expect disruption.
If you’re doing structural changes, or relocating services, it can be messy. Some clients plan a temporary kitchen elsewhere during the build.
“What causes the biggest delays?”
Late changes. Missing decisions. Appliance availability. Unclear responsibilities between trades.
What makes a luxury kitchen project feel calm (not chaotic)
You don’t need to micromanage a kitchen build, but you do want visibility.
Ask for:
– A named point of contact
– A single schedule
– A clear “who is responsible for what” list
– A decision deadline list (what needs deciding, and by when)
That last one is the difference between a calm project and a stressful one.
A realistic expectation for most projects
If you want a straight answer you can plan around:
If you start now, a well-run kitchen project often completes in 4 to 8 months.
Some complete faster. Some take longer.
The projects that stay on track are rarely the ones with the biggest budgets. They’re the ones with clear decisions, good coordination, and a schedule everyone respects.
Luxury kitchen timeline FAQ
How long does it take to design a luxury kitchen?
Usually 2 to 8 weeks, depending on complexity and how quickly decisions are made. Open-plan projects and detailed specifications tend to take longer.
How long does manufacturing take?
It varies, but 6 to 12 weeks is common once the design is signed off. Bespoke elements and specific finishes can extend that.
How long does installation take?
A typical luxury kitchen install is 2 to 6 weeks. If you’re including building work, electrics, plumbing changes, or plastering, it can take longer.
What can I do to avoid delays?
Decide appliances early, confirm materials early, and avoid late changes after sign-off. Make sure your kitchen team and builder are working from the same schedule.
When should I start if I want my kitchen ready by summer?
Work backwards.
If you want a completed kitchen by June, starting design in January is sensible, earlier if you’re doing building work or want specific appliances with longer lead times.