Kitchen lighting is easy to underestimate.
When you’re planning a new kitchen, there are bigger decisions competing for your attention. Cabinetry, worktops, appliances, flooring, the island. Lighting can end up on the list of things to sort out once everything else has been decided.
That’s usually too late.
You can get everything else right and still be disappointed with the room once it gets dark. Perhaps there isn’t enough light where you actually prepare food. The timber cabinetry you spent weeks choosing suddenly looks much darker than expected. Or you’ve ended up with so many ceiling spots that the kitchen feels more like a showroom at closing time than somewhere you want to sit after dinner.
Lighting needs to do a few different jobs. Obviously you need to see what you’re doing, but that’s only part of it. At night, it’s the lighting that brings out the stone, timber and other finishes you’ve chosen. It’s also what allows a busy working kitchen at 6pm to become a much calmer space later in the evening.
For that reason, we think about lighting as part of the luxury kitchen design itself. Not something to decorate it with afterwards.
Plan the lighting before the kitchen is built
There are some lighting decisions you can change quite easily later. Others become considerably more awkward once the kitchen has been ordered.
Take an island pendant. Its position needs to relate to where the island will actually be, rather than where it sat on an early drawing. Integrated LEDs need somewhere to sit within the cabinetry. Drivers need to be hidden, but not hidden so well that nobody can reach them again. Internal lights in pantries and tall units need power.
Then there are the switches, dimmers, sockets, extraction and appliances all competing for space within the same electrical plan.
This is why lighting should be dealt with during the technical design stage. We touch on this in our guide to how a luxury kitchen comes together. Sorting these details out on paper is far easier than asking an electrician or installer to find a workaround once the cabinetry is on site.
A kitchen needs different types of light
You’ll often hear kitchen lighting divided into three layers: task, ambient and accent. We’d add decorative lighting to that list, particularly in larger kitchens and open-plan rooms.
The names aren’t terribly important. What matters is understanding that the lights are doing different things.
Task lighting
This is the light you actually work under. Think about where you chop vegetables, use the sink, prepare food or stand at the hob. Those areas need enough direct light for you to see comfortably, ideally without your own body casting a shadow across them.
Ambient lighting
This is the general light in the room. It might come from recessed downlights, ceiling fittings, wall lights or indirect sources.
You don’t necessarily want it blazing away at full brightness. It just needs to give the room enough comfortable background light to function.
Accent lighting
This is where things get more interesting.
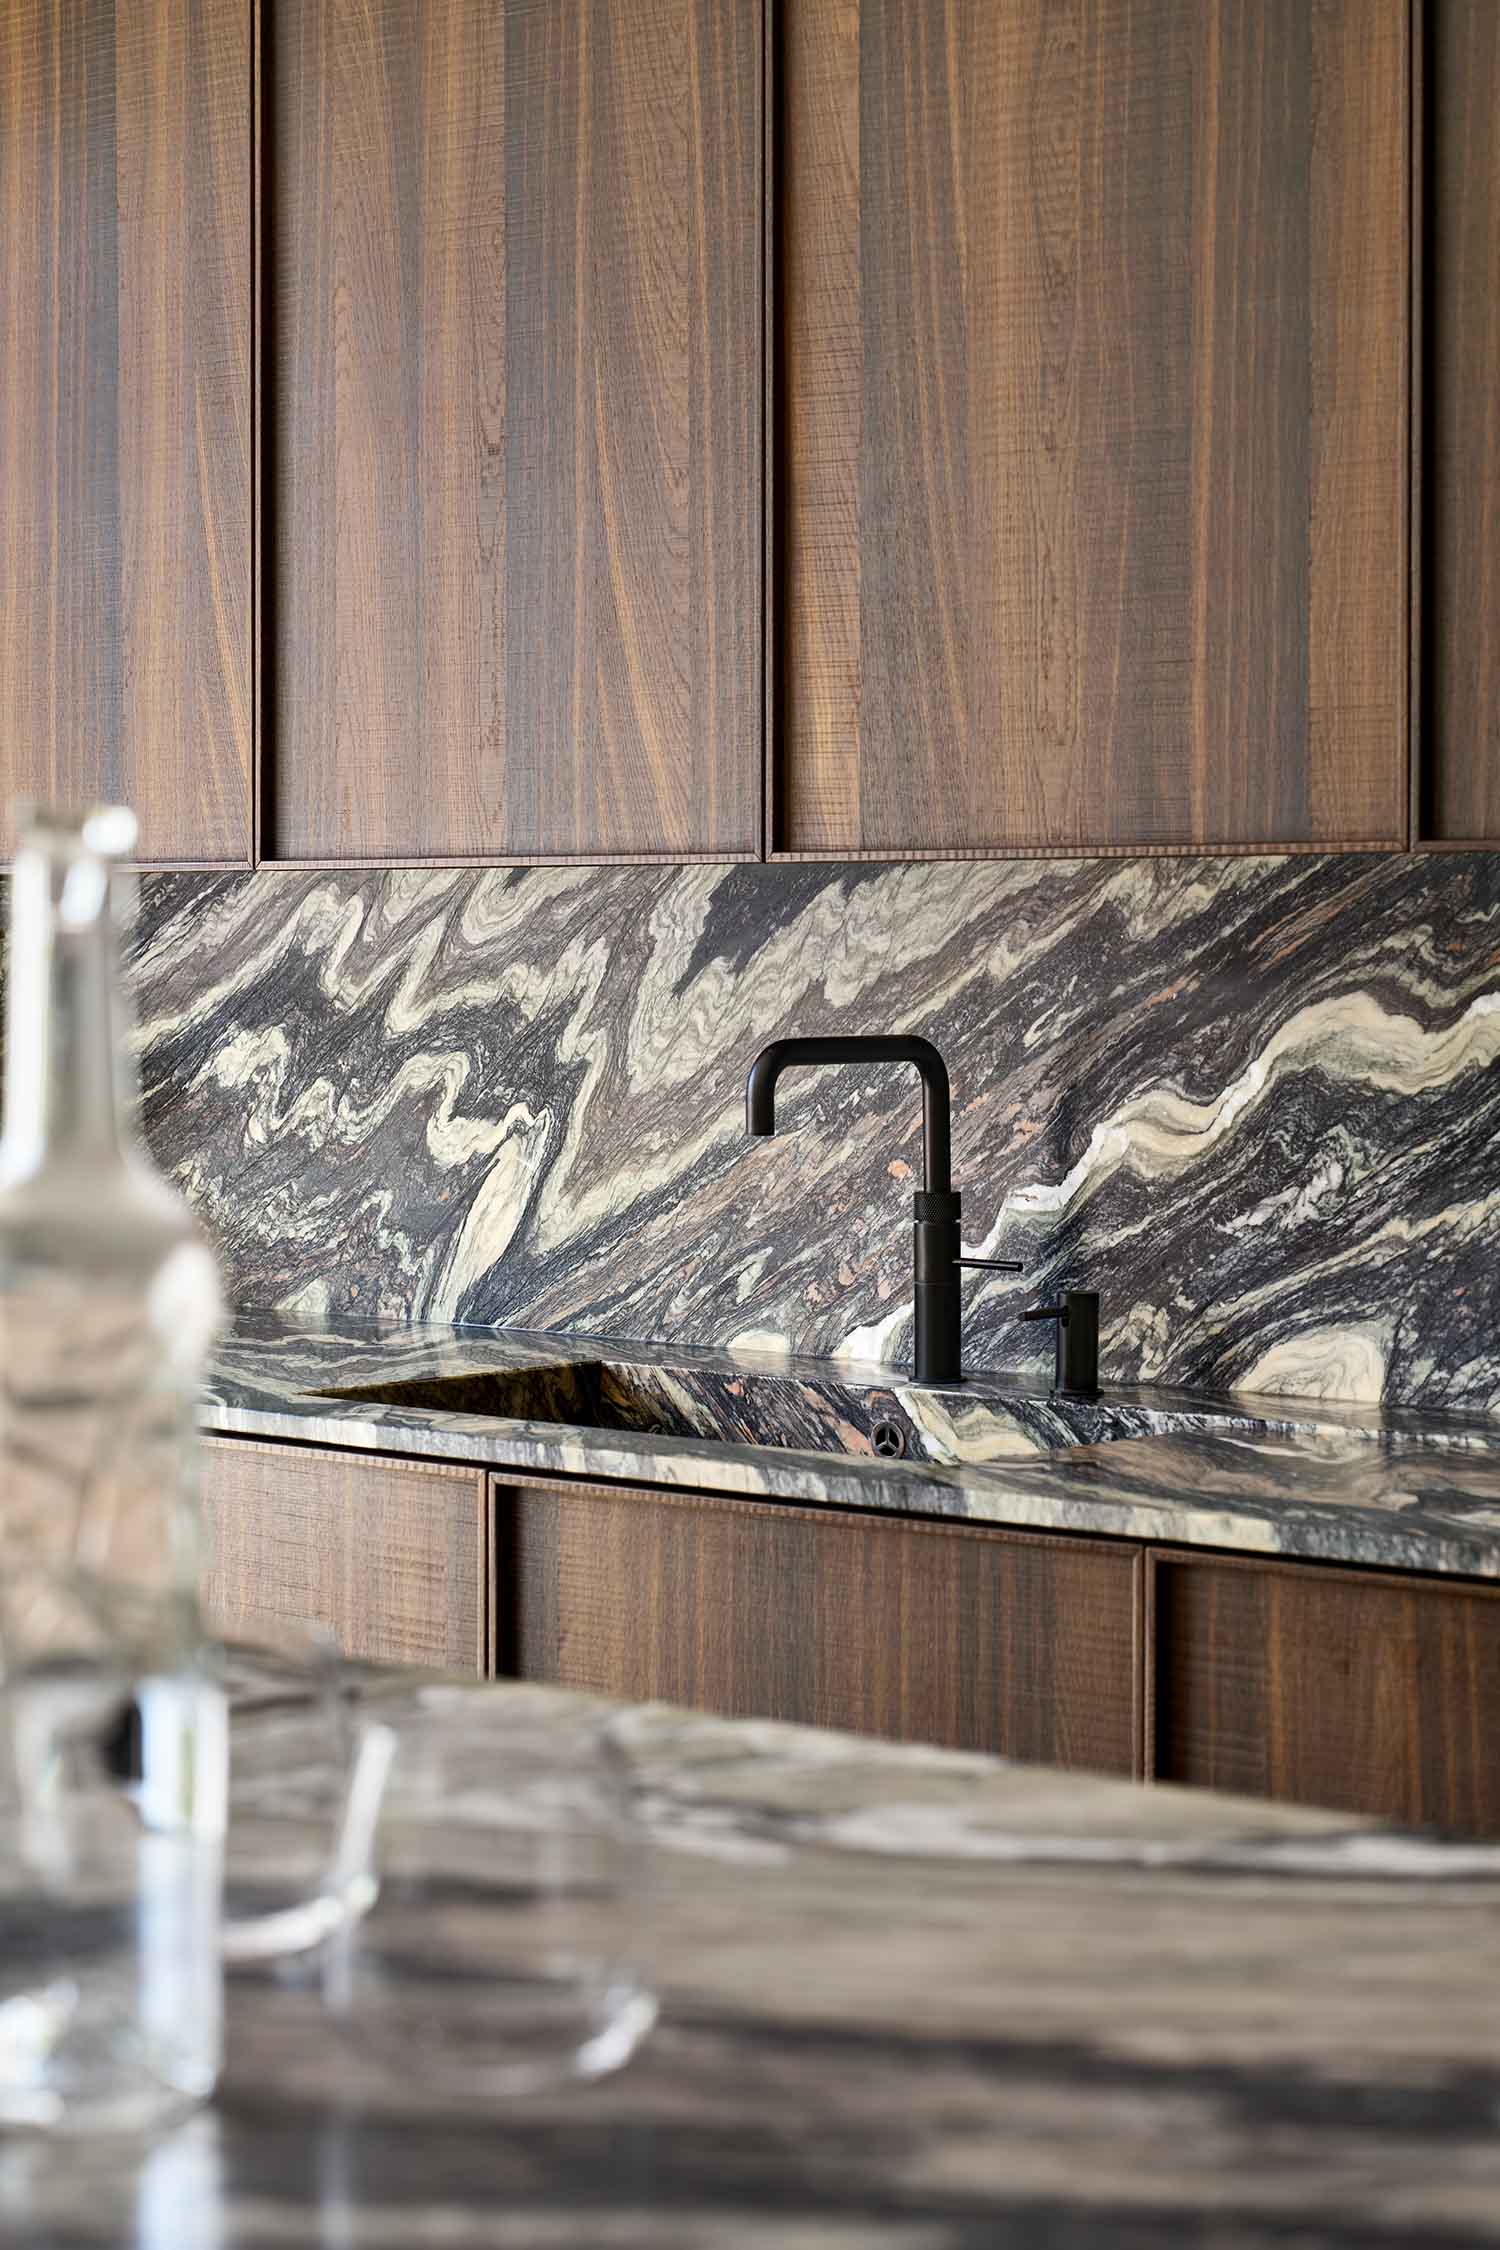
A little light across a textured wall, inside a glazed cabinet or along a shelf can completely alter how that part of the kitchen looks after dark. The same applies to stone and timber. Lighting them from the right direction can reveal texture that isn’t particularly noticeable under general ceiling lighting.
You don’t need accent lighting everywhere. In fact, it tends to work better when you’re selective.
Decorative lighting
Sometimes the fitting itself deserves attention.
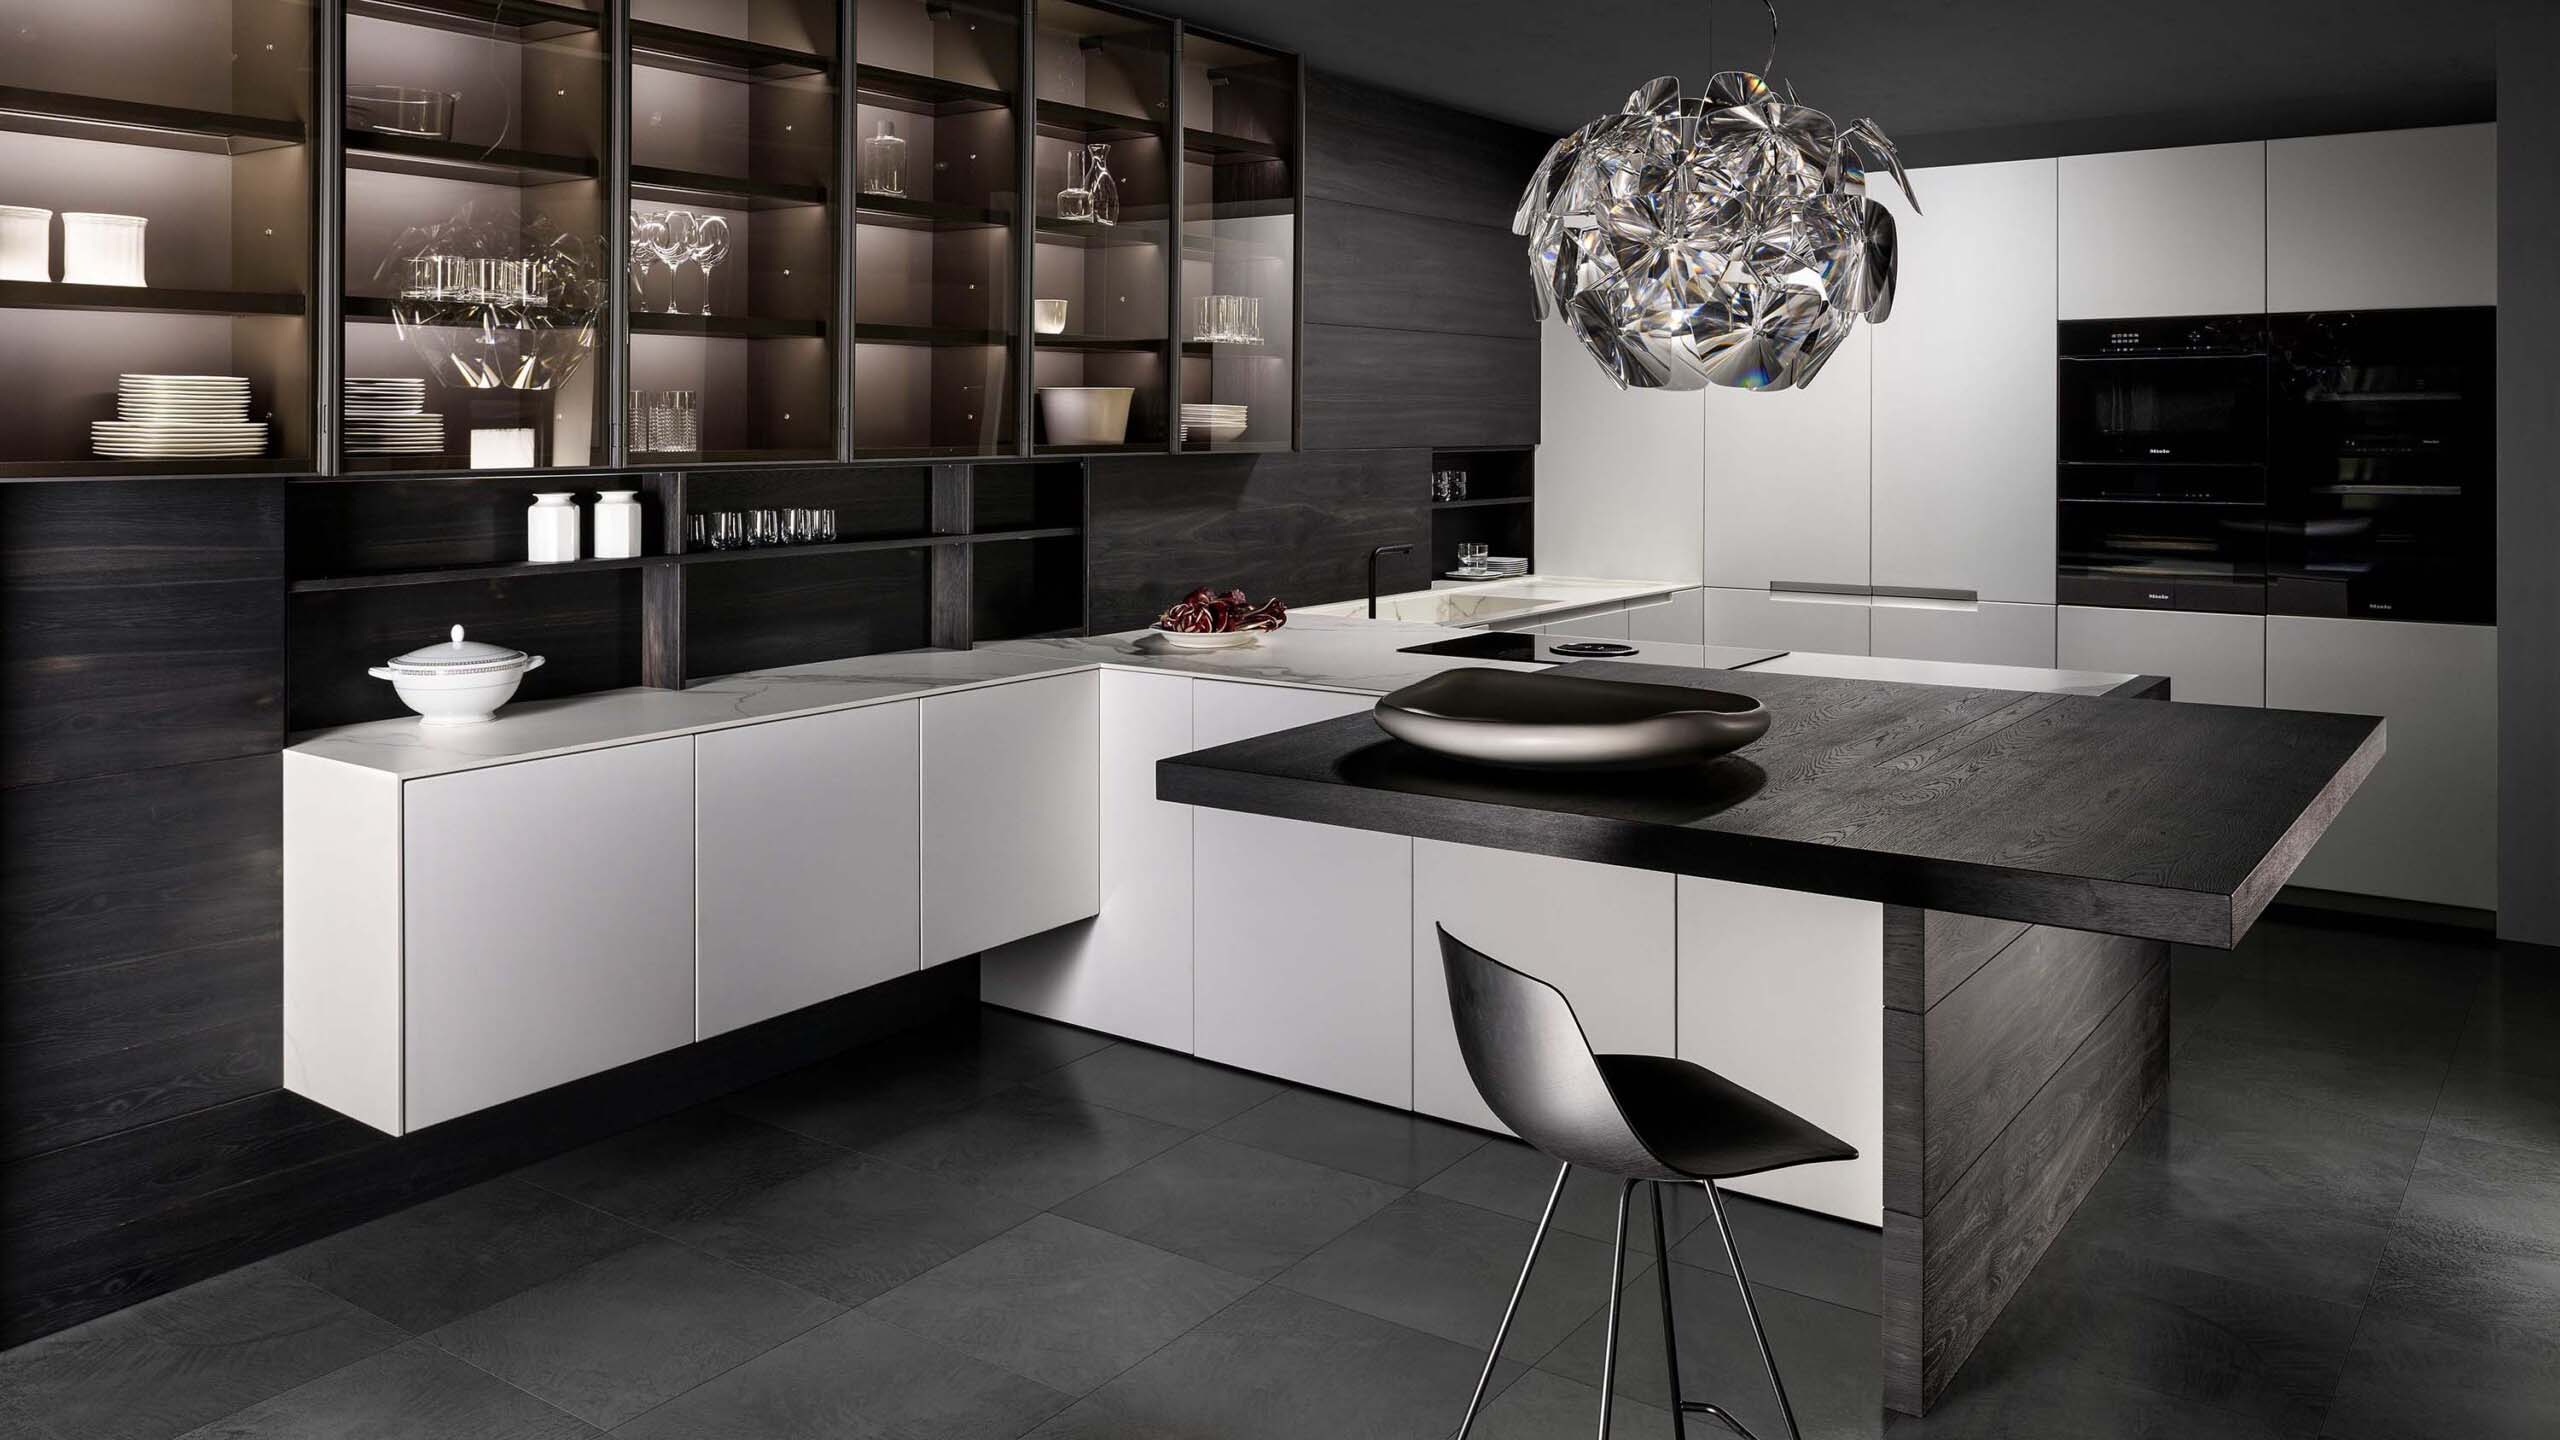
A pendant above an island is the obvious example. It may provide useful light, but you’re also looking at it when it’s switched off. In a fairly minimal kitchen, it can be one of the few deliberately decorative objects in the room.
The important bit is not asking that one beautiful pendant to light the whole kitchen.
Start with the worktop, not the ceiling
A common way to approach kitchen lighting is to look at the ceiling and decide where the downlights should go.
Try looking down instead.
Where will you actually prepare food? Where will you stand at the sink? Which part of the island gets used for cooking and which part is for sitting?
Once you know that, you can work out where the light needs to come from.
A downlight directly behind you may make perfect sense on a symmetrical ceiling plan. Stand underneath it at the worktop, though, and you may find your head and shoulders are casting a shadow over the very area you’re trying to illuminate.
Under-cabinet lighting solves a lot of this because the light source sits much closer to the working surface. A continuous LED can also give you an even run of light rather than a sequence of bright and dark patches.
Homes & Gardens makes the same practical point in its guide to planning kitchen lighting: think about the person using the worktop and position task lighting so they don’t block it.
It sounds obvious once you say it. It is surprisingly easy to miss on a plan.
2700K, 3000K and why colour temperature matters
You’ve probably seen numbers such as 2700K and 3000K on lighting specifications. They’re worth paying attention to.
2700K is towards the warmer end and can be lovely with timber and warmer neutral finishes. At 3000K, the light becomes a little crisper while still feeling comfortable in a home. That can suit a clean, contemporary kitchen very well.
Once you move towards 4000K, things start to feel noticeably cooler. There are situations where that works, but it isn’t automatically better simply because it appears brighter or whiter.
Don’t choose a colour temperature because somebody has told you that one particular number is the ‘luxury’ option. Look at the room and the materials. If possible, put samples of the actual finishes under the proposed lighting. The stone or veneer you chose in daylight can look quite different at 9pm.
Also watch what happens when different sources are switched on together. A warm pendant next to a much cooler strip beneath the wall cabinets can look odd even though both looked perfectly good in isolation.
There’s another number worth checking: CRI
CRI stands for Colour Rendering Index. It tells you, broadly speaking, how faithfully a light source renders colour.
This can easily disappear into the technical specifications, but it’s worth knowing about when you’re spending significant money on the finishes in a premium kitchen.
If you’ve spent weeks finding exactly the right timber veneer or choosing a stone because of the subtle colour running through it, you want those qualities to survive after sunset. Poor colour rendering can leave materials looking flatter or simply a little different from the way you remember them in daylight.
As a useful benchmark, CRI 90 or above is worth looking for in areas where surfaces, food and colour matter. Ideal Home also recommends CRI 90+ in its kitchen lighting guidance.
It isn’t the most glamorous part of specifying a kitchen, but it’s one of those details that can quietly improve the finished room.
Lighting a kitchen island
People often choose the pendants for an island before they’ve completely decided how they’re going to use the island.
We’d reverse that.
If you’re preparing food there, you need proper task lighting. If it’s mainly somewhere to sit with a coffee or eat in the evening, softer light may be more important. Many islands have to do both.
There may also be a hob, sink or seating arrangement to work around, and all of those things influence where the light should fall.
Our guide to luxury kitchen islands looks at the wider planning decisions around the island itself.
Then think about the pendant.
A large sculptural fitting may look fantastic in a double-height room but overwhelm a smaller kitchen. Hang it too low and you’ll spend years looking around it to speak to someone on the other side of the island. Too high and it can feel disconnected from the furniture below.
You’ll find recommended pendant heights online, and they’re useful as a starting point. But don’t design the room around a generic measurement. Ceiling height, the fitting itself, sightlines and the height of the people using the kitchen all matter.
Dark kitchens don’t simply need brighter bulbs
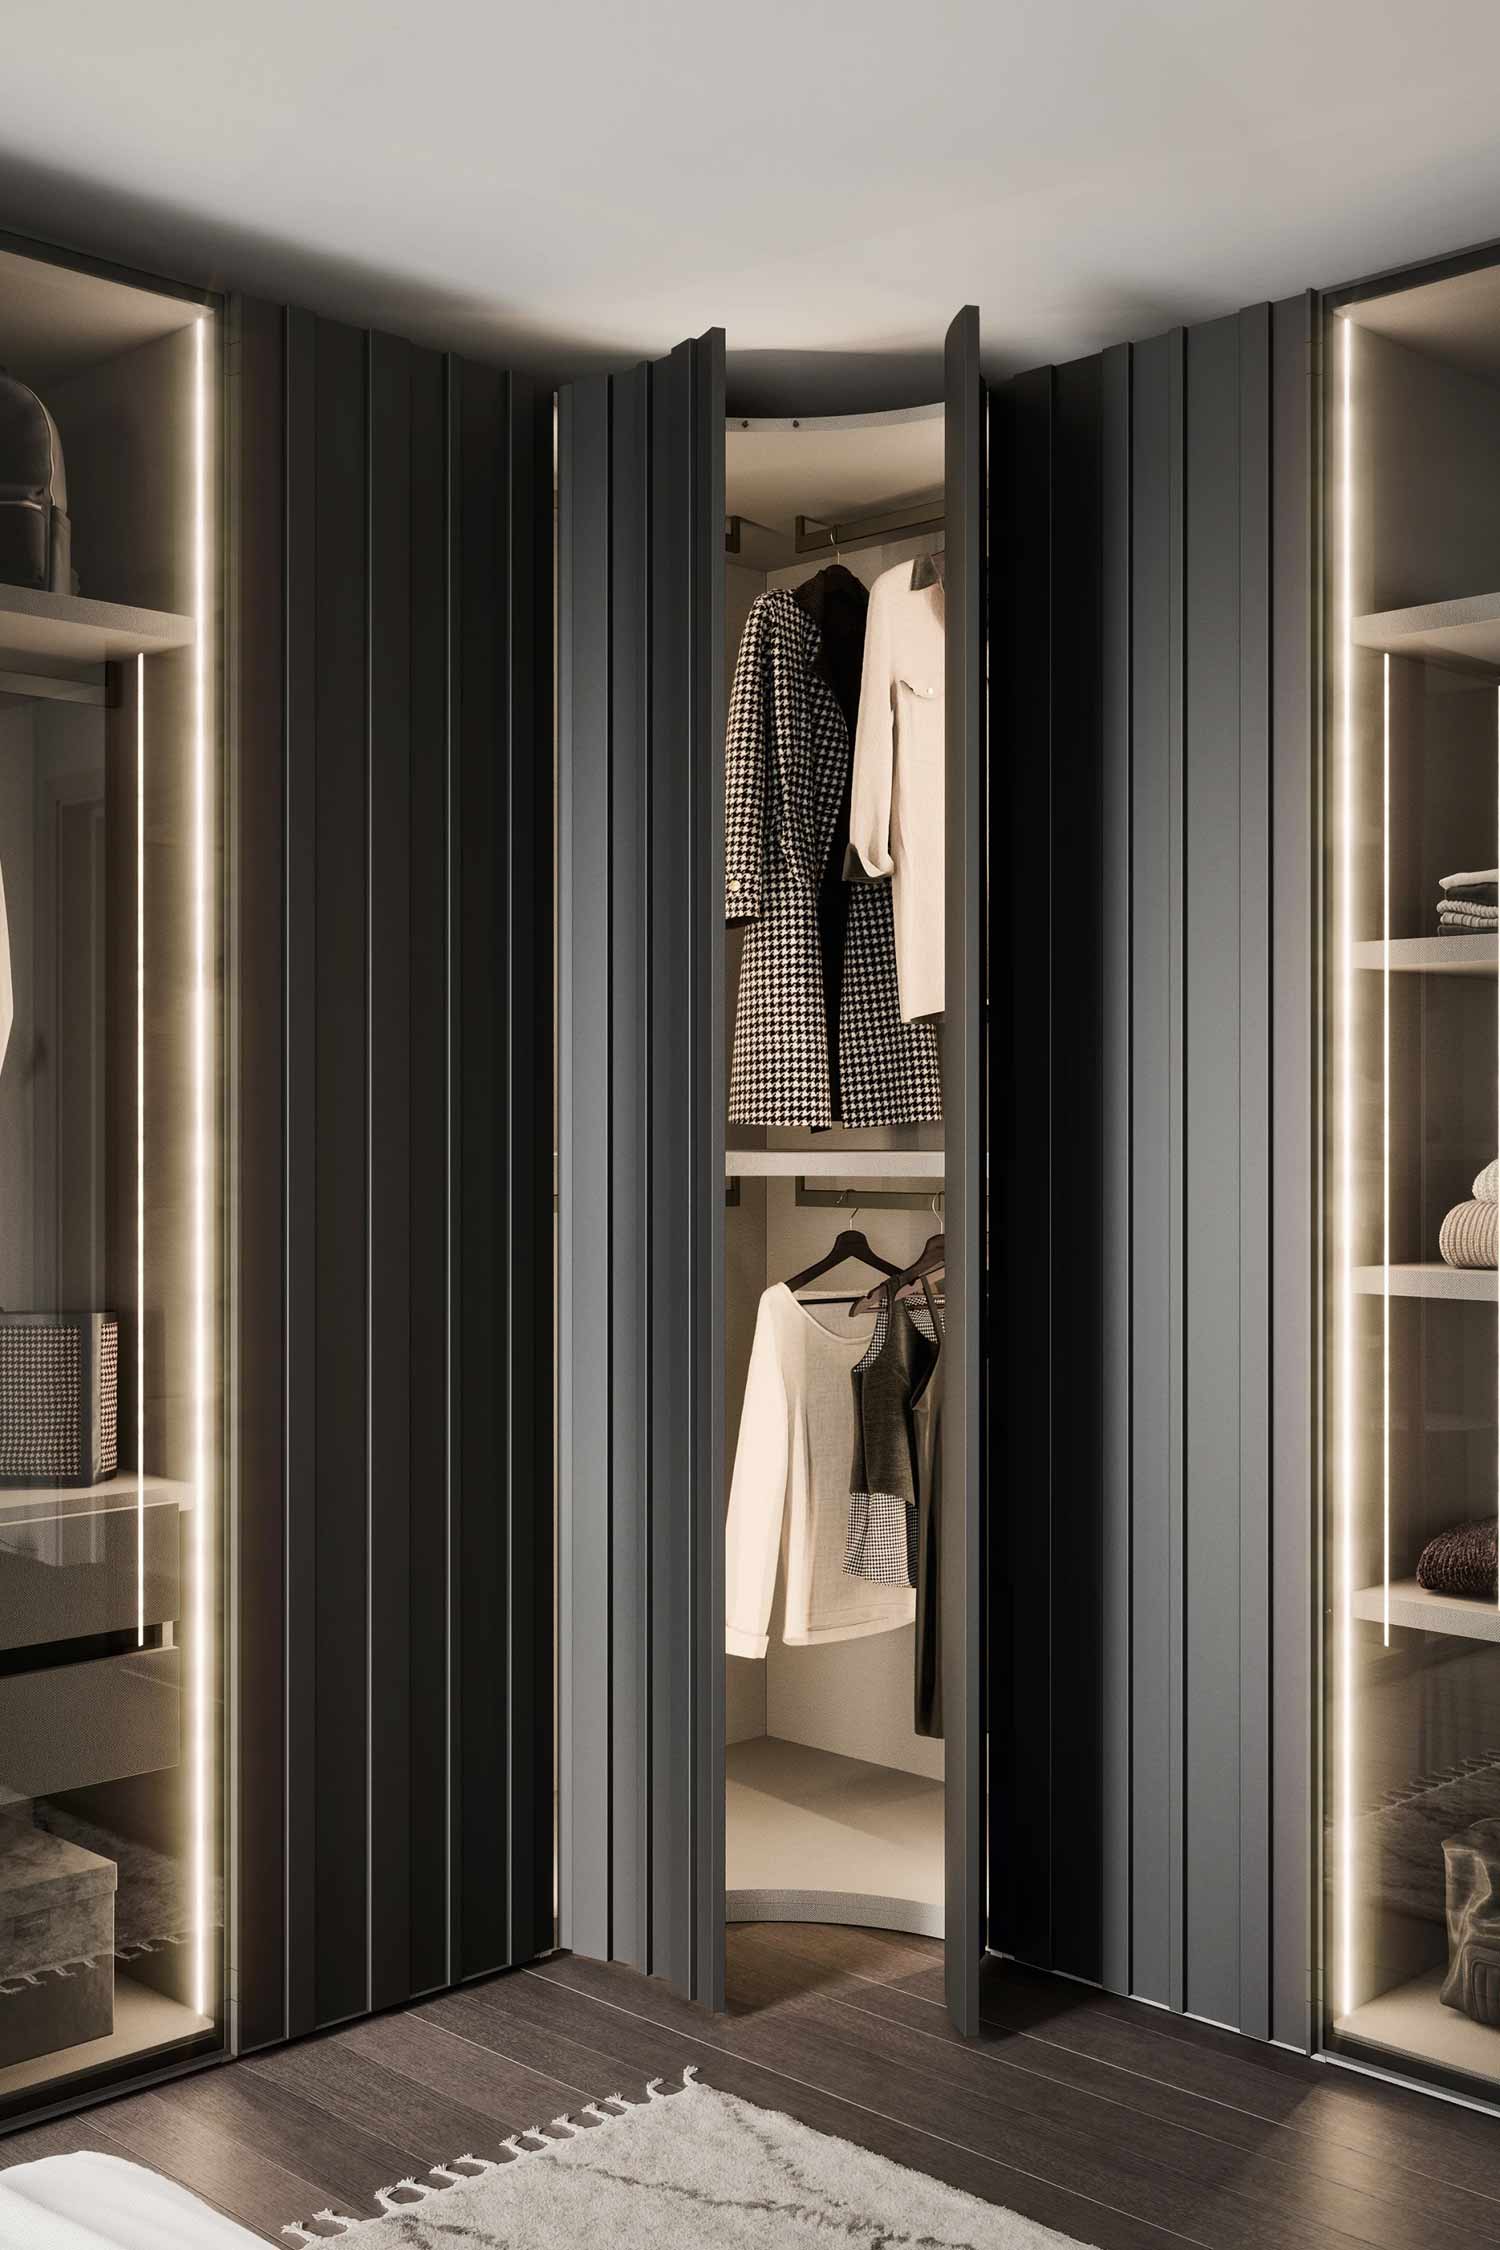
A dark kitchen can be incredibly striking. Deep timber, black or charcoal cabinetry and heavily veined stone can create far more depth than an all-white scheme.
They also behave differently under artificial light.
Dark and matt surfaces tend to absorb more light than pale ones, so simply copying the lighting plan from a white kitchen isn’t necessarily going to produce the same result.
Nor is the answer to keep adding downlights.
Instead, think about where a little more light will reveal the room. Perhaps that’s a wash of light across tall cabinetry, a softly illuminated shelf, good task lighting across the worktop and something subtle inside a glazed unit.
Leave some quieter areas too. Contrast is part of what makes a darker scheme work.
This can be particularly effective with contemporary German kitchens and handleless cabinetry, where long, uninterrupted surfaces are part of the appeal. You want the lighting to reveal that architecture, not compete with it.
Don’t forget about daylight
A lighting plan drawn without considering the windows is only telling half the story.
A kitchen with large south-facing glazing may have more daylight than you know what to do with at certain times of day. A north-facing kitchen can feel completely different, even if the dimensions and layout are almost identical.
Spend some time thinking about what actually happens in the room. Where is the sun in the morning? Does one preparation area become gloomy in the afternoon? Will the island need artificial light during the day, or only once evening arrives?
This becomes even more relevant when designing an open-plan kitchen.
In summer, a glazed kitchen and living space might stay bright until late into the evening. Come December, the same room is relying on artificial light before you’ve started cooking dinner.
The scheme has to cope with both.
One switch is rarely enough
Imagine you’ve finished cooking and you’re sitting at the island with a glass of wine.
Do you still want the preparation areas, ceiling lights, cabinet lights and pendants running at exactly the same intensity they were while you were making dinner?
Probably not.
That’s why separate circuits are so useful. Ceiling lighting can be controlled independently from the pendants. Under-cabinet task lighting can stay bright while something decorative is dimmed. Later, you might switch most of it off and leave only a couple of softer sources on.
Depending on the kitchen, you might separate:
- ceiling lights;
- under-cabinet LEDs;
- island pendants;
- internal cabinetry;
- accent lighting; and
- the dining area.
You don’t need a wall covered in switches to achieve it. Dimmers, smart controls and preset scenes can make quite a complicated scheme very simple to use.
The important thing is deciding how you want that flexibility to work while the wiring can still accommodate it.
Some of the best lighting is hidden inside the cabinetry
Open a pantry and the lights come on. Close it and they disappear.
That’s a small detail, but a useful one.
The same idea can work in deep drawers, glass-fronted cabinets and pocket-door areas containing appliances. In a made-to-measure kitchen, lighting can be integrated into the furniture rather than added to it afterwards.
There is a practical side to this that shouldn’t be forgotten.
Cables have to get into the cabinet somehow. Sensors need to be positioned correctly. LED channels may need to form part of the cabinet construction. And if there’s a driver tucked away somewhere, somebody needs to be able to reach it if it eventually fails.
Hidden shouldn’t mean inaccessible.
These decisions are far easier to resolve while a bespoke kitchen is being designed than after the cabinetry has been manufactured.
Consider what the light is going to hit
The worktop, splashback and cabinet fronts all respond differently to light.
Highly polished stone can reflect individual points of light. Glass can do the same. A glossy surface beneath an exposed LED strip may reveal every diode when what you expected was a smooth line.
Matt finishes present a different challenge. Dark timber and heavily textured surfaces can swallow general light, but look fantastic when light catches them from the right direction.
It’s worth thinking about this while choosing the materials for the kitchen, rather than making the lighting plan independently.
You’re not really lighting an empty room. You’re lighting everything you’ve put into it.
Kitchen lighting mistakes worth avoiding
There are a few things we’d watch for.
A ceiling full of downlights and nothing else. You’ll have plenty of illumination, but very little depth.
Task lighting behind you. It looks fine on the electrical plan until you’re standing between the light and your chopping board.
Fixing pendant positions too early. Get the island dimensions and position right first, then centre the lighting against the finished design.
A mixture of warm and cool whites that wasn’t intentional. Check the specifications across the different fittings rather than looking at each one separately.
Cheap LEDs with poor colour rendering. It makes little sense to invest heavily in stone, timber and cabinetry and then compromise how they look at night.
Everything on the same switch. Kitchens do different jobs at different times of day. The lighting should be able to change with them.
Inaccessible drivers. Drivers can fail. Make sure replacing one doesn’t involve dismantling half the kitchen.
Cabinet lighting discussed after the cabinets have been made. By then, the neatest options may already have disappeared.
Most of these problems have the same underlying cause: the lighting has been designed around where the fittings can go rather than around how somebody will actually use the kitchen.
Before electrical first fix, check these decisions
You don’t need to have chosen every decorative fitting before the electrician starts. You do, however, need a fairly settled kitchen plan.
Before first fix, we’d want to know:
- where the main preparation areas are;
- the final position of the sink and hob;
- the size and exact position of the island;
- which worktops need dedicated task lighting;
- whether wall cabinets need integrated LEDs;
- which pantries, tall units, drawers or display cabinets will be illuminated;
- where any pendants will hang;
- how the lighting will be divided into circuits;
- what needs to be dimmable;
- where switches and controls will sit;
- the intended colour temperature and CRI;
- where drivers and other serviceable components can be hidden while remaining accessible; and
- how daylight changes across the room.
You may still change your mind about the pendant itself.
Moving its electrical point after the ceiling has been finished is rather less appealing.
Kitchen lighting FAQs
What’s the best lighting for a kitchen?
Rather than looking for one ‘best’ fitting, think in layers. You need enough light where you prepare and cook food, comfortable general illumination for the room and, where appropriate, softer accent or decorative lighting for the times when the kitchen isn’t being used purely as a workspace.
Is 2700K or 3000K better for a kitchen?
Both can work. 2700K is warmer and softer; 3000K is a little crisper. The cabinetry, worktop, amount of daylight and adjoining rooms should influence the choice.
If you’re unsure, look at samples of your actual kitchen finishes under both rather than making the decision from a specification sheet.
What CRI should I choose for kitchen lighting?
CRI 90+ is a sensible target for good-quality kitchen lighting, particularly around worktops and areas where you want colours and materials to appear accurately.
Is under-cabinet lighting necessary?
Not necessarily. If there aren’t any wall cabinets, it obviously isn’t an option.
Where wall units sit above a preparation surface, though, integrated lighting can be one of the most effective ways to get useful light directly onto the worktop.
How many downlights should a kitchen have?
There isn’t a reliable formula based solely on the size of the room.
Ceiling height, beam angle, lumen output, daylight, the colour of the surfaces and, most importantly, where you actually need light all affect the answer.
Work out what needs illuminating first. The number of fittings comes afterwards.
Should pendant lights over a kitchen island be dimmable?
Usually, we’d say yes.
The same island might be a preparation area at 6pm and somewhere to sit with a drink at 9pm. Being able to reduce the light level means the space can change with the way you’re using it.
When should kitchen lighting be planned?
Start thinking about it alongside the kitchen layout and have the important decisions settled before electrical first fix.
Pendant positions, integrated cabinet lighting, switching, circuits and driver locations are all considerably easier to deal with before the kitchen is manufactured and installed.
When it’s right, you shouldn’t have to think about it
There can be some fairly technical decisions involved in planning kitchen lighting. Once the kitchen is finished, you shouldn’t have to think about most of them again.
You walk in and the worktop is properly lit. Open the pantry and you can see what’s at the back. The stone still looks good when the daylight has gone. When dinner is finished, you turn down a couple of circuits and the room feels completely different.
That’s really the test.
A successful lighting scheme doesn’t need to announce how clever it is. It just lets a luxury kitchen work properly, morning, evening and everything in between.